
Heyo!
You may have seen that my friend Katika @candypress and I recently finished off a residency and had a pop-up exhibition at Charles Street Video (CSV) Mar 1 & 2, 2025. It was a slow and steady several months, then a frantic last sprint working towards this collaboration, and a good time overall so I wanted to recap some of that process here for you :)
For some context, Katika and I met years ago through murals, at first online and then in the real world. We’ve been working towards collaborative projects/murals for a few years now! We’ve also had individual projects and interests that have happened to align as well. Katika brought me into this makerspace residency with CSV she had brewing, and we thought it would be a good chance to combine some of the things we’ve been talking about. In this case it was projection mapping + textiles.
Humber River Adventure


Last Fall (? time is a blur) we went to explore the Humber River together for inspiration and maybe material gathering of plastics/other garbage. We ended up having a magical encounter with a herd of white-tailed deer instead! Plus a grumpy bird. My best guess is a grey heron but if you are better at IDing birds please let me know who the round one with long legs is.

The deer were just chilling in the river. They waded/swam to the side we were on, climbed up and went on grazing. I think the one fisherman in the middle of the river was both shocked and delighted. He stayed still and quiet until all them made it across before looking at us ( ˶°ㅁ°) !!
A big chunk of residency time was spent figuring out what we each wanted to do, and how to explain/visualize it for the other person to understand, and to figure out what ties our works together. Even though the river was our inspo, Katika was more interested in the garbage side of things, and I was more interested in the animals. This stayed consistent but many conversations were had before things really melded together.
Charles Street Video
As part of the makerspace residency, Charles Street Video gave us (scheduled) access to their space to work, a “budget” that went towards using equipment like the projectors, computer programs etc, a small artist fee (a portion of which went towards paying Kavi for running the workshop you’ll read about soon), and much needed technical support. Thank you Greg for all your help!!


We familiarized ourselves with the space, testing a projector, mirrors + other reflective materials, jars, fabric hanging etc. (artwork being reflected is @maruti_bitamin as test of an image with contrast and colour)
If I remember correctly, Katika’s face is one of satisfaction when my mirror idea worked out? On the other hand, maybe displeased because I said no to her non-reflective cake tins 🎂🙅🏻♀️ no cake this time ( •̯́ ₃ •̯̀)

A super rough floor plan + trying to figure out what we’re doing

Testing my fabric in the space
In addition to our artworks, we also planned for three events open to the public throughout the residency
event 1: projection mapping workshop with iilze (kavi) Briede

Katika spearheaded this event more, but basically we had to learn projection mapping so why not have others learn with us as well? ദ്ദി(。•̀ ,<)~✩‧₊ We had capacity for a small group but it was free to attend, and Kavi @art_by_kavi led us through the basics of MadMapper —the program we used to set up all the projections for river, river at CSV. Thanks Kavi!
A note on other projection mapping programs:
Last year I participated in a projection mapping project and made Delta. I did not handle the technical side but Emma and Pedro of AVA Animation and Visual Arts use Arena. They usually work on monumental building facades so I assume this program is heavvvvy duty.
I also attended a projection mapping 101 workshop with Maziar Ghaderi @maziart and North York Arts. This was free to attend as well, thank you Maziar + NYA! (spot me on slide 8, good eye Katika 👀). Here we used Isadora.
As a projection mapping beginner, I found Isadora more intuitive to use than MadMapper.
These are all pricey programs! If you’re interested, there’s free trial versions but they come with limitations like watermarks (Arena), and no saving allowed (Isadora). For MadMapper you could also reach out to CSV with questions about equipment rentals etc.

In pairs testing out our new MadMapper skills. Kavi is in the stripey shirt and hat with pink stripe

See how the pink is limited to the bread loaf in the image above? Projection mapping lets you “map” an image/video from the computer to a shape in real life, and you define its boundaries. This is handy when you want to project on a surface with different depths or angles. A normal projection would be one image/video layer warping over everything your projection beam can reach.


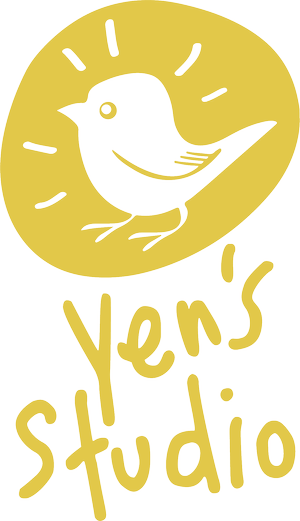
event 2: Community Embroidery DROp-in
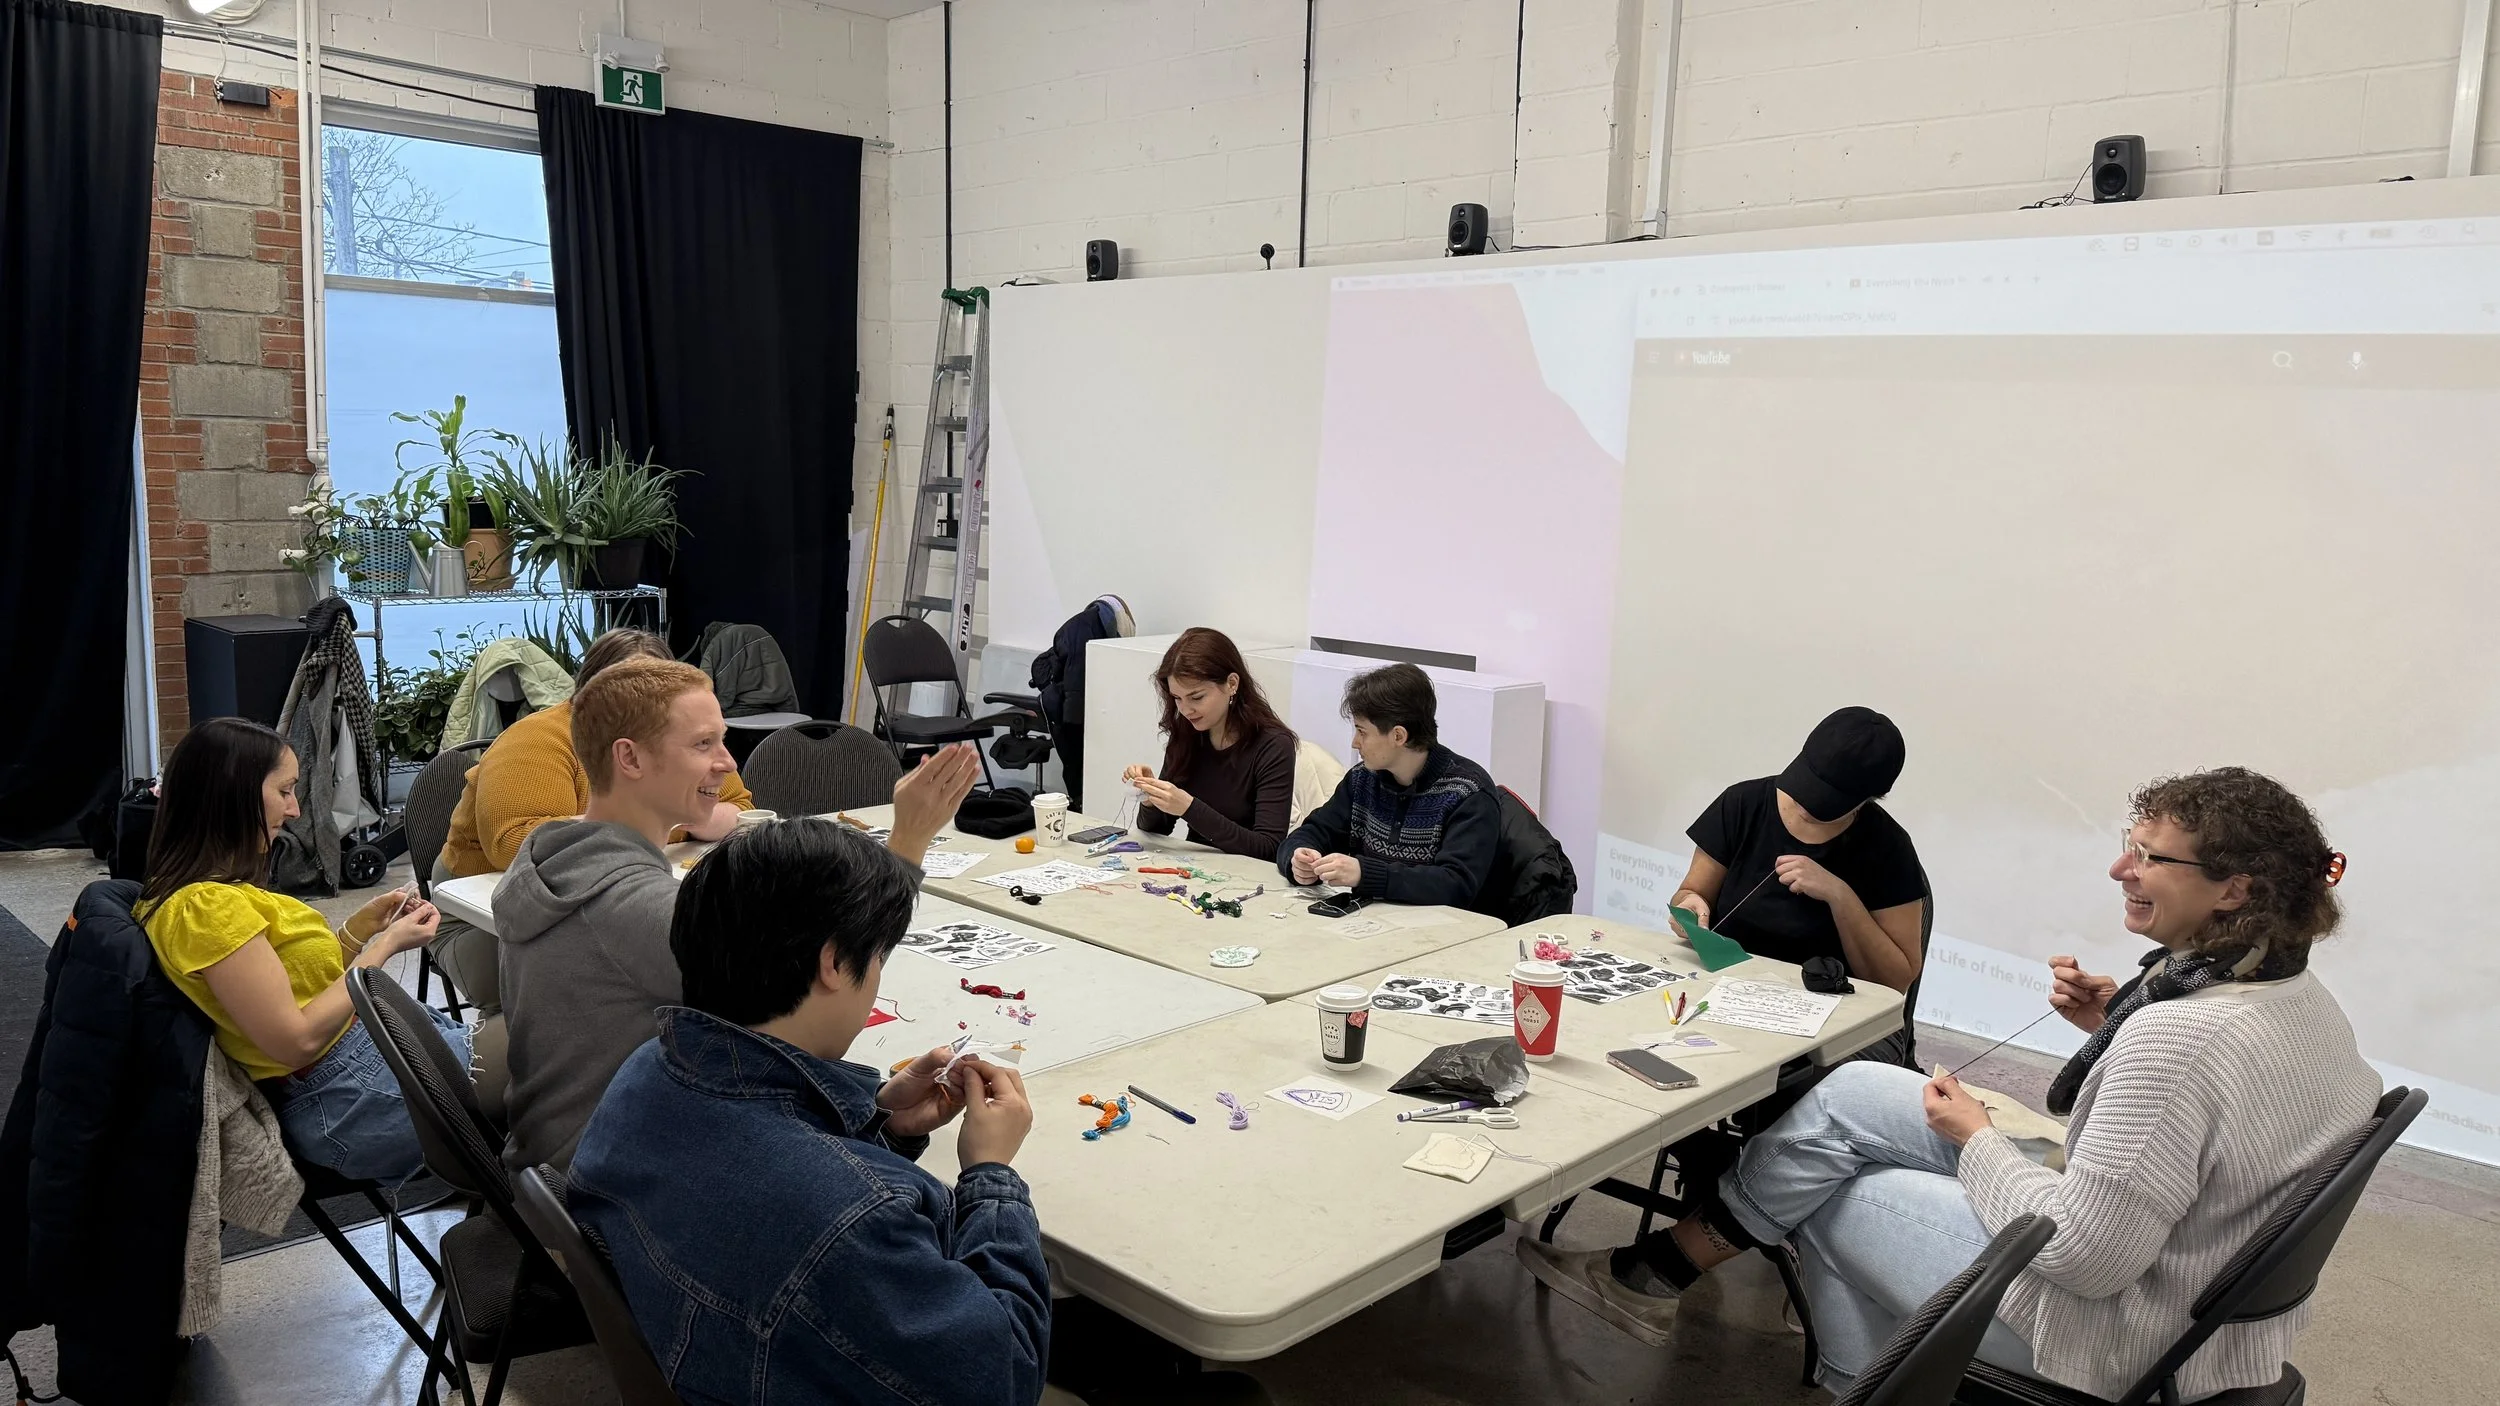
For our second workshop, we tied in the textile side of this project and hosted a beginner-friendly embroidery drop-in. We had tea and snacks and a lovely afternoon making little felt patches inspired by things found by the Humber River.
All the community-made patches were included in our exhibition zine! A huge thank you to everyone that participated and learned with us.
If you want to make a patch of our own, I’ve modified our workshop guide and it’s available to download HERE. It comes with a material list, instructions and reference images.


BACK to the installation!
Now that we’ve done our research (online and on foot), got inspiration from community, and acquired some skills with MadMapper, it was full steam ahead on artwork creation.
I decided to make all my digital components first, before tackling the textile. That meant rough drawings and then animations to test in the space periodically before continuing to flesh them out. I chose a few small things I was interested in drawing that were more or less self-contained, and could easily be placed in the space and moved around.


At this point I was aiming for each animation to be a patch, to mimic our workshop and easily fit/map onto round mirrors I had planned to sew into my hanging textile. We also kept checking to see if the animations can be reflected and how much shows up + how far we can send the images.
My process:
I roughly drew out all my animation frames in Procreate
Re-drew/traced my drawings with a brush and ink on paper using my ipad as a lightbox
Ink drawings were scanned and vectorized in Illustrator to get black-grey outlines that were clean but kept some of the wobbliness of my hand
Back to Procreate to colour with some real scrungly brushes. Procreate has a lot of great brushes included but I bought the Monomania set from True Grit Texture Supply a few years back and have absolutely no regrets (∩˃o˂∩)♡ I’ve used these brushes in every project since I’ve gotten them.


Been really digging seeing all my animation frames all at once (*ฅ́ ˘ฅ̀*)♡
Alchemy winterlude
Then… I went away for a residency within this one 😅 While Katika worked on her side at home (textiles first, and then drawings), I took my textile away to sew out in Prince Edward County, in the dead of Winter. It was actually so peaceful out there in the winter and so, so quiet.
I won’t detail all of Alchemy Artist Residency here because this is a river, river at CSV focused journey, but know that a portion of it was done out there :) Also, I had intended to sew for a project there in 2024, but we pivoted to a giant mural instead 😜 so the idea went back into my brain bank until now. Full circle moment!

Laying out all my paper shapes and guestimating the length of fabric I needed to keep in order to hang this fabric from ceiling to floor

Cut out my appliques in the fabric and roughly tacking them on where I want to sew them in properly

The first two shapes sewn on casting a shadow!!!! At this point I finally knew that this idea was actually working!!! All my efforts and planning were not in vain
At the end of Alchemy I lost my phone and was running around the GTA for two weeks with an ipad loaded with maps I could access offline. I was that lady taking photos with a giant ipad at gallery openings (ᵕ—ᴗ—)
Anyway, I have a phone now, I slowly finished my textiles at home (the most difficult part was keeping the appliques flat) and Katika upcycled fabrics to make giant soft sculptures of garbage. We tested our creations in the space and went away to make/edit.
My fabric shadows were pretty much invisible in the dark, especially since I decided on transparent backgrounds for the animations. Katika suggested a textured background to mimic water, and I ended up settling on a green fading in and out. This way the fabric shadows are visible occasionally, and we get new interactions between the shadows and projections.
Animations got multiplied and the critters’ movements were staggered so that duplicate fish for example don’t all move the same way.
installation
Before we knew it, it was time to install!!!!
With Greg’s help, we got all four ceiling projectors connected to one laptop through the patch bay, connected the speakers, and pointed the projectors the right way. It took many tries, quite a lot of wrangling to get everything to cooperate, and a solid amount of time just searching for the darn cursor across all 5 screens (1 laptop, 4 projections) spread across the walls and floor (੭ ˊ^ˋ)੭ ♡
My textile only needed two bows tied to a bar on the ceiling, and it is pointless without projections so I spent a lot more time fiddling with projection mapping. Katika was the opposite and had a ton of fishing lines to pull to get her fabric pieces to sit in space and be readable as objects before tackling her digital components.
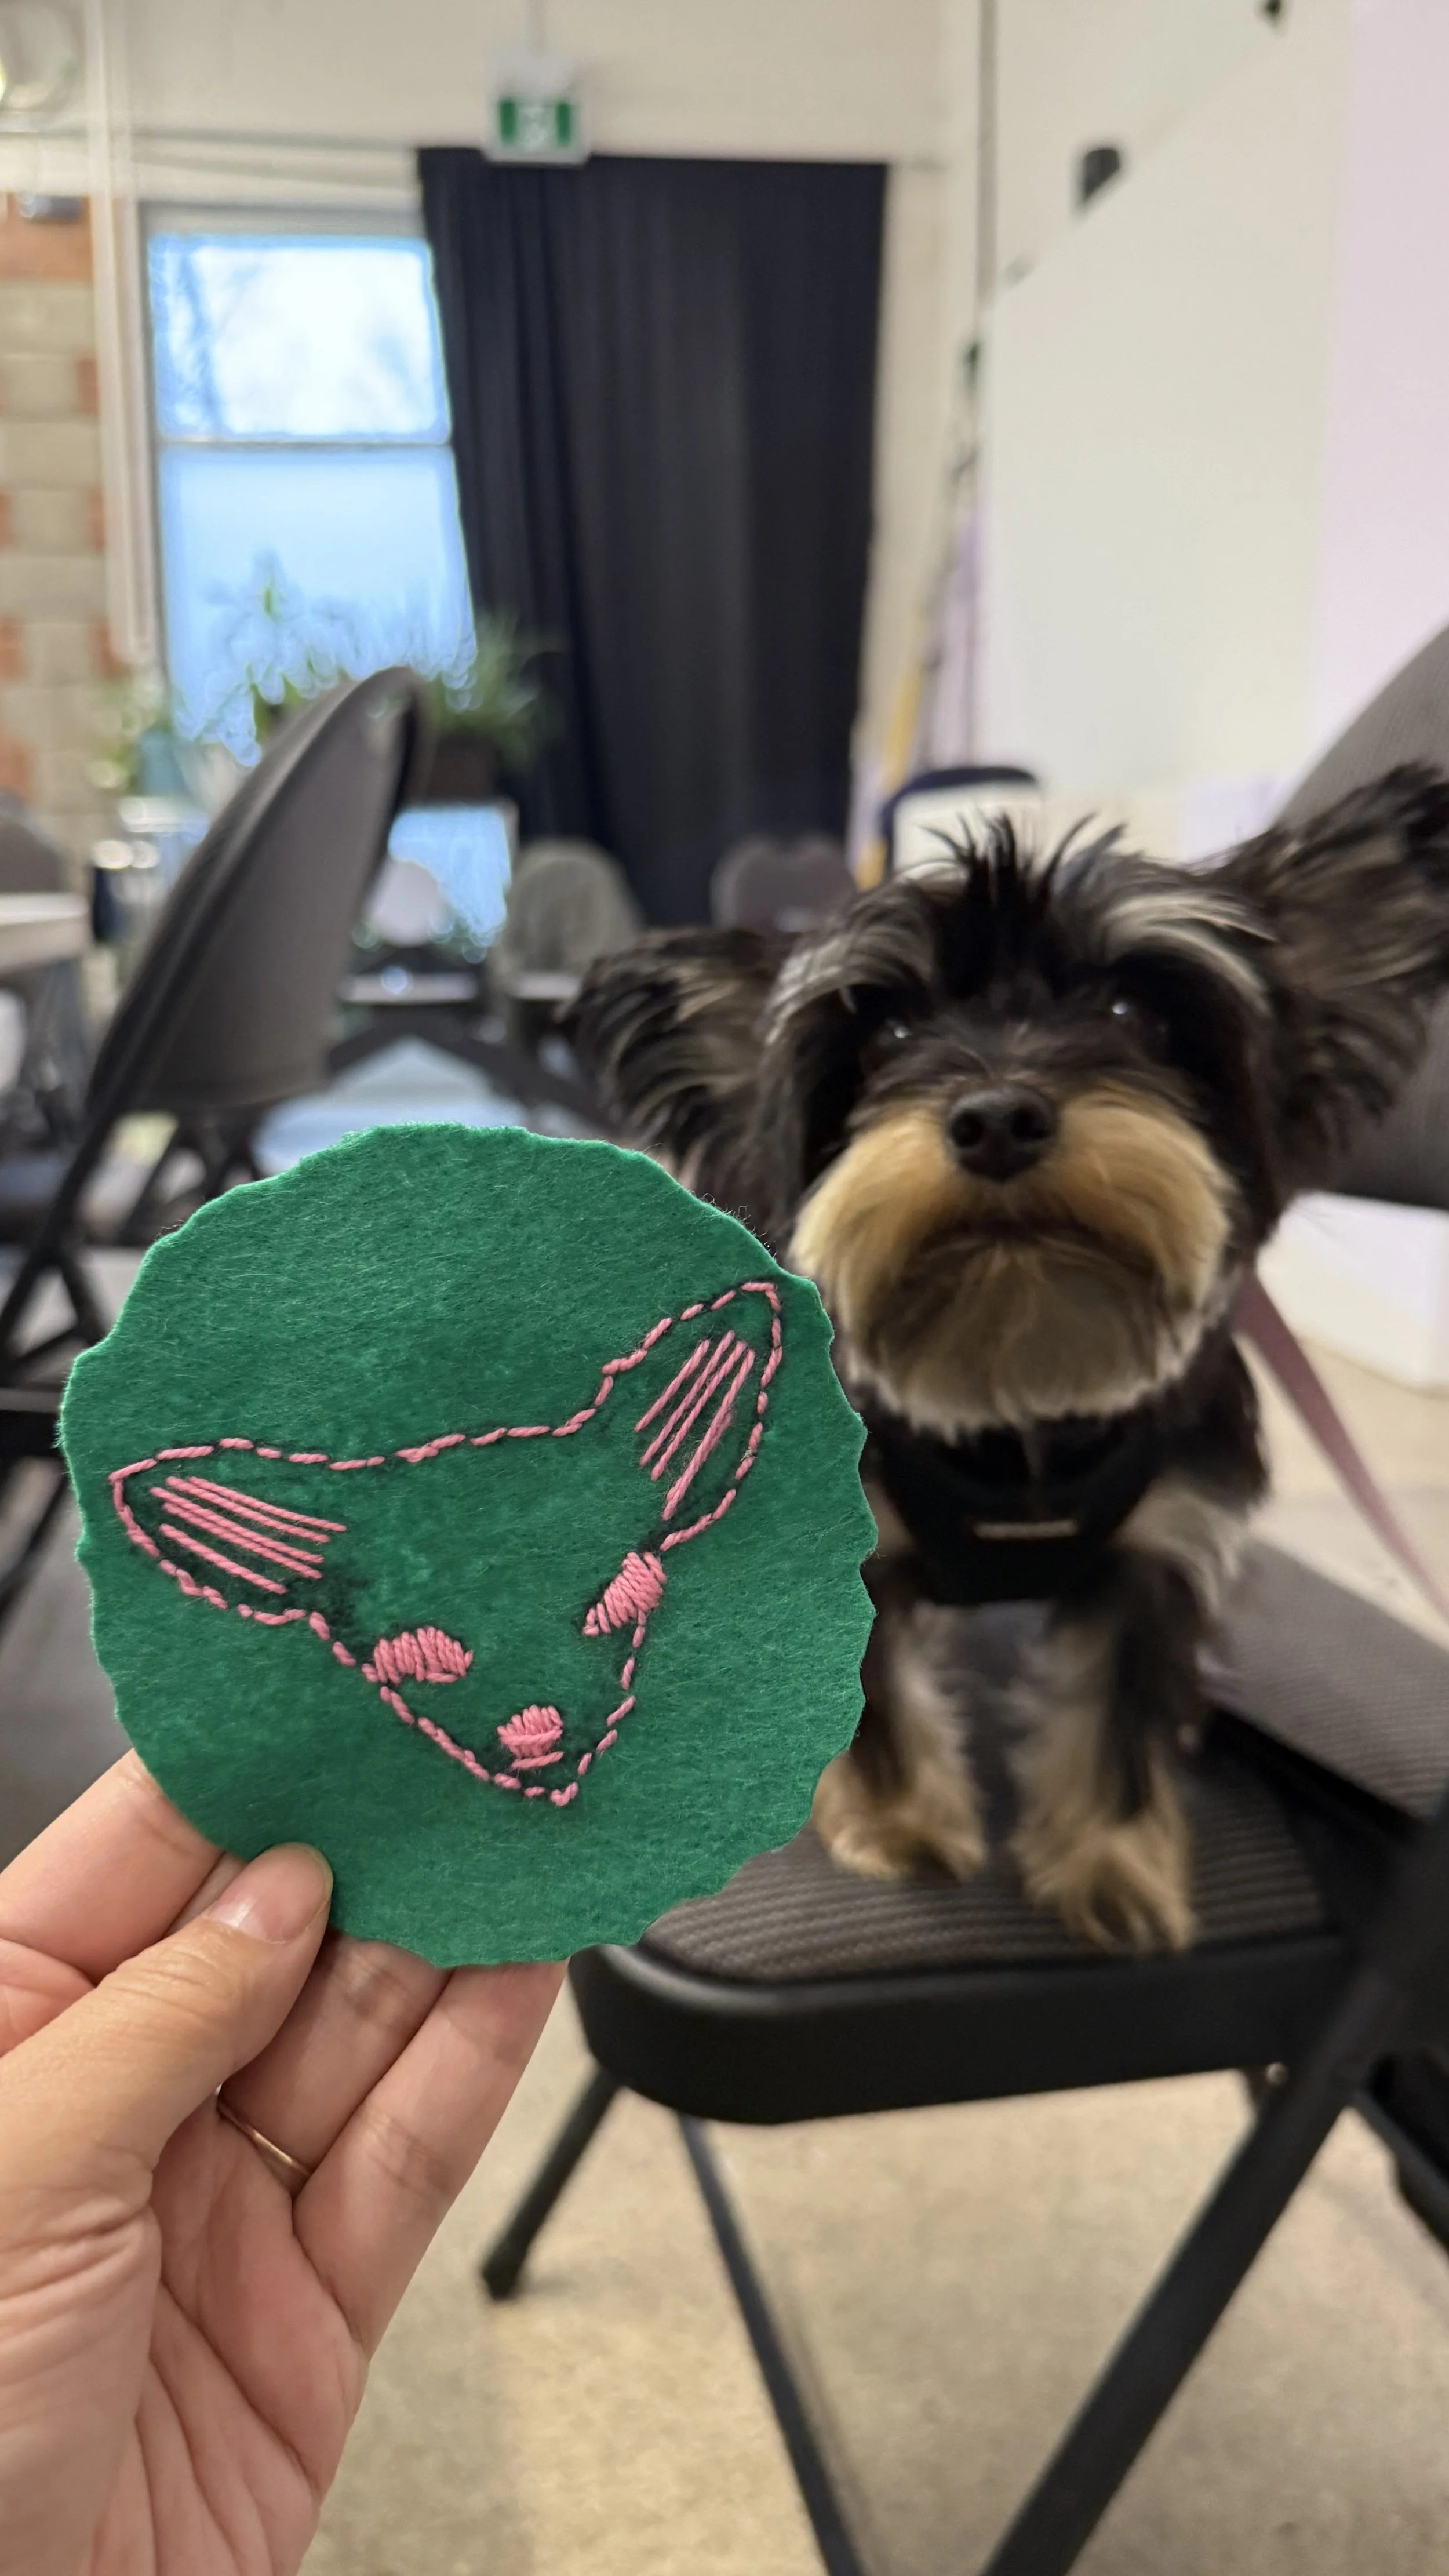
Also, thank you to Mark for painting in our show title! He had a copy of the zine and freehand mimicked our wonky handwriting in one shot ദ്ദി ( ᵔ ᗜ ᵔ )


Here’s what our MadMapper set up ended up looking like in the end. 4 projectors: 1 each pointed at our hangings, and 1 each pointed at the floor (a tiny section of the ones pointing at the floor reached the walls). Once all the projectors were cooperating and properly identified in MadMapper, it was much easier to plop in our assets and fiddle with the composition!

event 3: the show! March 1 & 2


A few of my favourite parts of the show:
The fish that were projected on the lower parts of the fabric had a double image effect, showing up on the fabric and the floor
Katika’s bread clip expiration dates being easter eggs for the show dates + our collab
Katika’s tadpoles! It was difficult to capture but the mirror reflected them swimming up on the ceiling too
Fishies interacting with the fabric shadow deer every time the green background faded in


I took on putting together a mini zine for our exhibition takeaway. It has a bit more context for each of our individual artworks, our write up for river, river, pictures of the community-made patches and some drawings we both threw in there. For a downloadable copy of the zine (along with folding instructions) click HERE.


A huge thank you to everyone that came out to see river, river ❤️ It was a very cold and wet weekend, and river, river was only up for a short time so I extra appreciate people making the trek to visit.

THE END
It was sad to say goodbye to river, river but I hope to do more animations this year and try more projection mapping in the future. If you’ve made it to the end, thanks for reading!
Finally, the biggest hugs, high fives and thank yous to Katika for being my art buddy and collaborator ❤️❤️❤️
Cheers to many more goofy hang outs and fun art projects together!


More documentation of river, river is on my website here. If you have questions/comments please reach out or comment below. Email me or find me on instagram @yenlinh.thai and katika at @candypress
Until next time (๛ ˘ ³˘ )♡
Linh
